Signs Your Floors Need Leveling Before New Flooring Goes In
Spring in Apple Valley brings a rush of home upgrade projects, and new flooring sits at the top of many homeowner lists. Before the first plank or tile gets laid, the subfloor underneath has to be flat, stable, and dry. Skipping that step leads to cracked tile, squeaky boards, and gaps that show up months after installation. An uneven subfloor is one of the most common reasons new flooring fails early. Most homeowners do not notice the signs until they walk across a room and feel the dip. Learning what to look for helps you catch issues before they turn into costly callbacks. Crown King Construction works with High Desert homeowners every spring to prep subfloors the right way.
Common Warning Signs That Your Floors Need Leveling
Every house settles, and older homes across Victorville, Hesperia, and Apple Valley often show their age through the floor. The subfloor is the foundation for every finished surface in the home, so small movements turn into visible problems. You might feel a slope when walking from the hallway to the living room, or notice furniture that never sits quite right. Doors that rub, baseboards that pull away from the wall, and tile grout that cracks in clean lines all point to the same issue. Catching these signs early saves money on the flooring install itself. A flat subfloor protects the warranty on most engineered and laminate products. It also extends the lifespan of hardwood, vinyl plank, and tile.
Visible Warning Signs That Your Floors Need Leveling
Place a long level or a straight 2×4 on the floor in several spots across each room. Gaps of more than 3/16 of an inch over a 10 foot span mean the surface falls outside the standard tolerance for most flooring products. Roll a golf ball or marble across the room and watch where it stops; a ball that drifts steadily in one direction confirms a slope. Look at the transitions between rooms, since dips often show up where two slab pours meet or where joists change direction. Check along exterior walls, because moisture and foundation shifts tend to pull those edges down first. Stand back and scan the surface under natural light for waves, humps, or low spots. These visual cues give a clear picture before any flooring comes up.
Existing flooring often tells the story of what sits underneath. Cracked grout lines that run straight across a tile field point to subfloor flex or a dip the installer tried to bridge. Hardwood planks that cup, crown, or show wide seasonal gaps sometimes trace back to an uneven subfloor rather than humidity alone. Vinyl and laminate that shows telegraphing, where every subfloor seam or fastener shows through the top layer, is a strong sign the prep work was skipped. Carpet that ripples in the same spot season after season usually sits on a wavy surface underneath the pad. Peel up a corner of old flooring in a closet to see what the wood or concrete looks like without the finish covering it.
Sound and feel give away problems that the eye misses. A floor that bounces when you walk across it points to joist deflection or missing bridging, both of which show up as dips in the finished surface. Squeaks that appear in a specific path mean the subfloor is lifting off the joists as you step. A hollow sound under tile signals that the mortar bed broke loose, often because the surface was not flat during install. Cold spots near the edge of a room can mean the slab has settled and pulled away from the framing above. Walk the room in bare feet and pay attention to anywhere the floor feels soft, loose, or springy. Trust what your body notices.
Structural Warning Signs That Your Floors Need Leveling
Foundations in the High Desert work hard against clay soil, wind load, and seasonal temperature swings. Hairline cracks in a slab are normal, but cracks wider than 1/8 inch or cracks with a lip where one side sits higher than the other need attention before new flooring goes down. Look for step cracks in block or stucco on the exterior near floor level, since those often mirror what is happening under the finished surface inside. Doors that used to close cleanly and now stick or swing open on their own tell you the framing has shifted. Gaps between the top of a baseboard and the drywall, or between crown molding and the ceiling, show settlement that reached the floor system. These clues help narrow down where leveling work needs to focus.
Joist problems show up in wood framed homes built on a raised foundation or over a crawl space. Sagging joists, rotted sill plates, and overspanned beams all let the floor drop in the middle of the room. Press your hand against the underside of the subfloor from the crawl space and feel for soft spots, water staining, or daylight through the sheathing. Look at the joists for splits, notches cut too deep for plumbing or wiring, and hangers that pulled away from the ledger. A floor that drops more than 3/4 of an inch across a single room usually needs a sister joist or a new support post before any leveling compound goes on top. Structural repairs come first; cosmetic leveling second.
Moisture is the silent partner in most floor failure. A slab that was not sealed properly lets vapor push up through the concrete and ruin the glue under vinyl, the pad under carpet, and the finish under hardwood. Stained subfloor plywood, musty smells, and efflorescence, the white powder that blooms on concrete, all point to water moving through the slab. Old plumbing leaks under a kitchen sink or behind a washer can rot a section of subfloor without ever showing a stain on top. Test the moisture level of any slab or wood subfloor before choosing a leveling method. Need help evaluating your subfloor? Click here for our floor leveling service.
Performance Warning Signs That Your Floors Need Leveling
New flooring sits on assumptions about the surface below. Manufacturers publish flatness specs in their install guides, and almost every major brand requires 3/16 inch of variance or less over 10 feet. Ignore that spec and the warranty goes away the day the product leaves the truck. Click lock laminate and luxury vinyl plank separate at the seams when the surface rolls, because the locking edge twists under foot traffic. Large format tile, anything over 15 inches on a side, cracks easily on a wavy bed because the tile cannot flex with the dip. Engineered hardwood glued to an uneven slab bonds in some spots and floats in others, which leads to hollow spots and creaks.
Appliances and fixtures magnify a sloped floor. A refrigerator that rocks forward every time the door opens points to a low spot under the front feet. A washing machine that walks across the laundry room during the spin cycle is usually dealing with more than an unbalanced load; the floor itself tips. Kitchen islands that lean, vanities with visible gaps at the wall, and toilets that rock on the flange all trace back to a surface that was never flat. Fixing the floor before reinstalling these items saves on plumbing callbacks and scratched finishes. It also protects the appliances themselves, since a level machine runs quieter and lasts longer.
Comfort and safety round out the performance picture. An uneven floor is a trip hazard for kids, older family members, and anyone carrying a laundry basket down the hall. Area rugs bunch and slide on sloped surfaces, which creates another fall risk. Rolling chairs in a home office drift to one corner of the room on their own. Furniture shims become a permanent part of the decor. None of this is acceptable in a finished home, and none of it gets solved by laying new flooring on top of the same problem. Level the subfloor first, and the new floor performs the way it should.
How Floor Leveling Gets Done the Right Way
Floor leveling is part diagnosis, part prep, and part finish work. Each subfloor, slab or wood, calls for a different approach, and the wrong method creates more problems than it solves. A skilled crew starts with measurement, moves to root cause repair, and finishes with a surface ready for the flooring product you picked. Rushing any step shows up in the final install. Crown King Construction handles floor leveling throughout Apple Valley, Hesperia, Victorville, Adelanto, Oak Hills, Phelan, and the surrounding High Desert communities. The process below explains how a professional job actually comes together.
How Floor Leveling Gets Done for Concrete Slabs
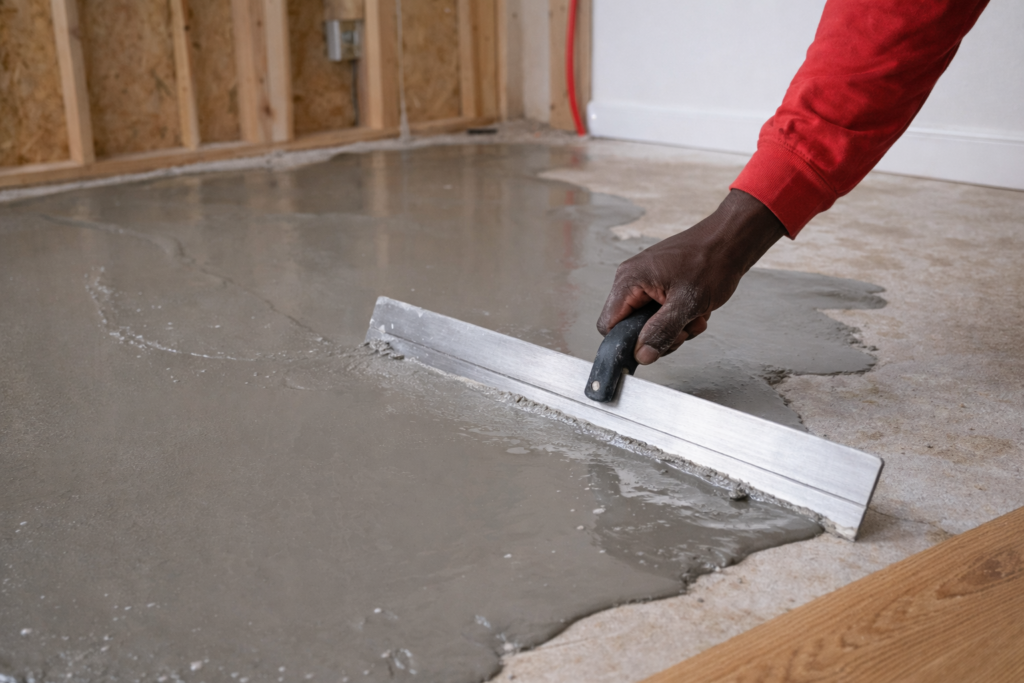
Slab prep starts with a full clean and a moisture test. Any paint, adhesive, carpet pad residue, or curing compound has to come off, because self leveling underlayment will not bond to a dirty surface. A calcium chloride test or an in-situ relative humidity probe tells the crew how much moisture is moving through the slab. High readings call for a moisture barrier or a vapor mitigation primer before anything else goes on top. Cracks get cleaned out, filled with a flexible polyurethane sealant or epoxy, and taped over so fresh compound does not run through to the ground below. Expansion joints stay intact and are honored in the new pour.
Priming is the step that separates a lasting job from a failed one. Every manufacturer of self leveling underlayment publishes a specific primer and an open time for it, and skipping the primer leaves the compound to dry too fast on a thirsty slab. The primer seals the surface, blocks pinholes, and gives the underlayment something to grab. Crews apply it with a roller or a broom, let it reach the right tack, and move to the pour window. Mixing the compound by hand is a shortcut that almost always leads to lumps; a paddle mixer on a corded drill, run at the speed listed on the bag, gets it right. Water ratio matters down to the ounce.
The pour itself moves fast. Self leveling compound starts to set within 15 to 20 minutes, so the crew pre-measures, mixes in sequence, and pours continuously across the room. A gauge rake sets the target depth, and a spiked roller releases air bubbles before the surface skins over. Perimeter dams and doorway stops keep the material where it belongs. Foot traffic stays off the slab for the window the manufacturer calls out, usually 4 to 16 hours depending on product and temperature. Flooring goes down only after the moisture level drops back into spec. Done right, the result is a flat, strong surface that pays off every day the new floor is in service.
How Floor Leveling Gets Done for Wood Subfloors
Wood subfloors need structure first and surface second. A crew crawls the space below, or pulls a section of the existing floor, and inspects every joist, beam, post, and sill. Rotten members get replaced, not patched. Undersized joists get sistered with matching dimensional lumber, glued and nailed along the full length. Sagging beams get new posts and footings that actually carry the load to solid ground. Subfloor sheathing that is delaminated, wet, or out of spec comes out, and new tongue and groove plywood or OSB goes in with construction adhesive and ring shank nails or screws.
Once the structure is solid, the surface gets flattened. Small humps get sanded or planed down with a belt sander or a power planer. Low spots under 1/2 inch get filled with a floor patch compound rated for wood, troweled smooth and feathered at the edges. Larger dips, anything over 1/2 inch, usually call for a self leveling underlayment poured over a primer and a reinforcing mesh, with the perimeter sealed to contain the liquid. Some cases are better handled with an added layer of thin plywood, shimmed along the joists to bring the surface back to flat. The method depends on the depth of the dip, the flooring product going on top, and the weight the system needs to carry.
Fasteners and squeaks get handled before any leveling compound goes down. Every loose area of subfloor gets refastened into the joists with structural screws, which hold far better than the original nails. Old nails that popped up get driven flush or pulled and replaced. Gaps between sheets of subfloor get filled with a flexible filler so the new floor does not telegraph the seams. A final pass with a long straightedge confirms the surface meets the flooring manufacturer’s flatness spec. Planning a larger project? Click here for our flooring installation service.
How Floor Leveling Gets Done for Bathrooms and Kitchens
Wet areas add steps that dry rooms do not need. Bathrooms and kitchens see water from tubs, showers, sinks, dishwashers, and refrigerators, so the leveling job has to account for slope, drainage, and waterproofing. Existing flooring and toilet flanges come out, and the subfloor gets inspected for rot around every plumbing penetration. Any soft wood gets cut out and replaced with new sheathing, sealed at the edges. The crew checks that the slope toward shower drains and floor drains stays correct, since a flat bathroom floor that pitches the wrong way sends water into the wrong places.
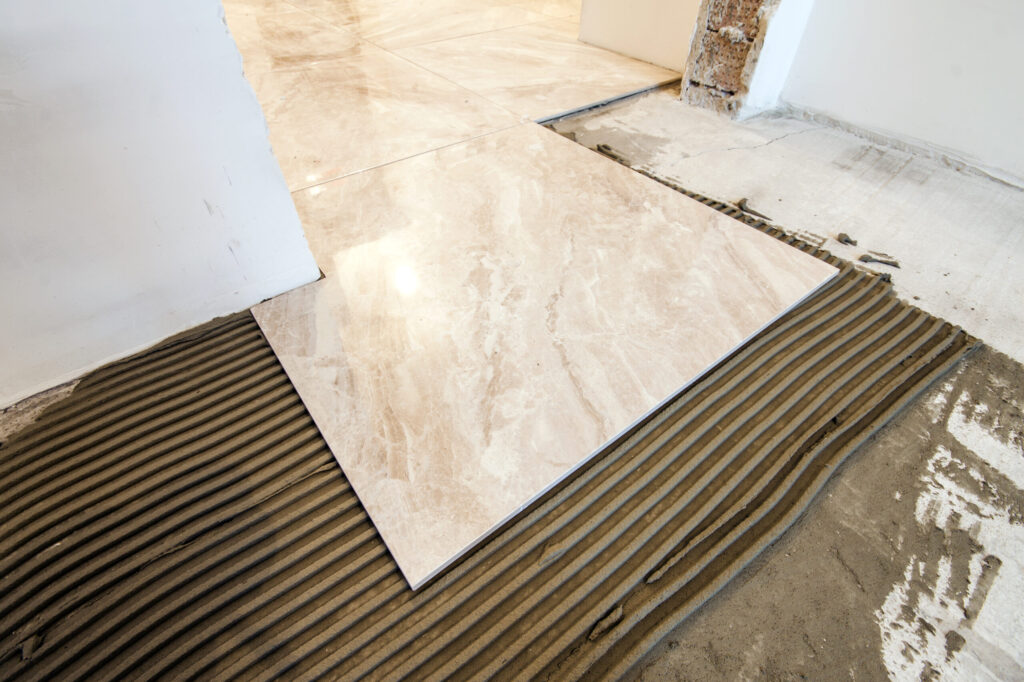
Tile installation raises the bar for flatness. Large format tile requires the surface to be within 1/8 inch over 10 feet, which is tighter than the standard 3/16 inch spec. Self leveling underlayment works well in kitchens and flat areas of bathrooms, and a mortar bed or screed works better around shower curbs and drains where slope matters. Uncoupling membranes go on top of the leveled surface to protect the tile from any small movement in the subfloor below. Waterproofing membranes extend up the walls in wet areas per code. Every layer gets the correct cure time before the next one goes on.
Cabinets and fixtures get installed on the finished, level floor in most modern layouts, which means the leveling work has to be done first. A level floor makes countertop installation faster, keeps dishwashers from rocking, and stops toilets from leaking at the wax ring. It also lets the tile pattern run cleanly under the toe kicks without awkward cuts. Taking the time to level properly in a kitchen or bath pays back every time a homeowner opens a cabinet door that swings true or steps into a shower that drains the way it should. These rooms take the most abuse in a house, and they deserve the most careful prep.
Why You Need a Professional for Floor Leveling Before New Flooring
Floor leveling looks simple in a short video and turns complicated the moment the first bag of compound hits the slab. Moisture tests, primers, cure windows, structural repairs, and flatness tolerances all have to land at the same time for the finished floor to perform. A professional crew brings the training, the tools, and the product knowledge to get it right the first time. The cost of doing it wrong shows up in cracked tile, warped planks, and lost warranties. Crown King Construction has handled floor leveling across the High Desert for years, and we stand behind every job we pour.
Why You Need Proper Tools and Materials for Floor Leveling
A good leveling job uses gear most homeowners do not own. Laser levels, long straightedges, moisture meters, paddle mixers, gauge rakes, spiked rollers, and spiked shoes all play a role in getting the surface flat and strong. Cheap substitutes leave lumps, trap air, and miss low spots. The material side matters just as much, since self leveling compounds, patch products, primers, and membranes each have a specific purpose. Pulling the wrong bag off the shelf at a big box store leads to bond failure within months. Using the right products in the right sequence is what makes the floor last.
Product selection depends on the full picture of the floor. A thin pour over a clean slab calls for a different compound than a deep fill on a wood subfloor. A bathroom needs a waterproof approach; a living room does not. Some floors need a rapid set product so the crew can finish the day’s work and return for flooring the next morning. Matching the compound to the depth, the substrate, the flooring product, and the schedule takes experience. A professional crew has poured enough jobs to know which product solves which problem.
Disposal and cleanup round out the job. Leveling creates dust, leftover compound, old subfloor pieces, and contaminated debris from moisture damaged areas. A professional team hauls it out and leaves the space ready for the next phase. Homeowners who try it themselves often end up with buckets of hardened compound, bags of old plywood in the driveway, and a mess in the garage. That time and hauling cost rarely shows up in the DIY math.
Why You Need Accurate Diagnosis Before Floor Leveling
Leveling the wrong problem wastes money. A sloped floor caused by a failing beam will keep sagging after a fresh pour of compound, and the new flooring cracks within a season. A wet slab with a missing vapor barrier ruins the new flooring no matter how flat the surface is. A professional looks past the symptom and finds the cause before mixing a single bag. That diagnosis saves homeowners from paying twice.
Experience helps the crew read the house. A floor that dips only near the exterior wall tells a different story than a floor that dips across the whole living room. A crack that runs straight points to one kind of slab issue; a crack that steps points to another. Old remodels often hide clues, like a patched joist or a new concrete pad poured over an older slab. Reading these signs comes from years of working on similar homes across Apple Valley, Hesperia, and Victorville.
Code and permitting enter the picture when structural work is involved. Sistering joists, adding posts, pouring footings, and replacing beams all fall under building department rules in San Bernardino County. A licensed contractor knows when a permit is needed, pulls it, and schedules the inspection. Homeowners who skip permits create problems at resale, when an inspector or a buyer’s agent flags the work. Doing it the right way the first time protects the home’s value.
Why You Need Crown King Construction for Floor Leveling in the High Desert
Crown King Construction is licensed, insured, and based right here in Apple Valley. Our crews know High Desert soils, climate swings, and the quirks of homes built across Adelanto, Mariana Ranchos, Mountain View Acres, Oak Hills, Phelan, Victorville, Lucerne Valley, and Hesperia. We show up with the right tools, the right products, and a clear plan for the job. Free estimates come standard, and we put homeowners first from the first call to the final walkthrough.
Clear communication sets the tone on every project. We explain what we find, what we recommend, and what the job will cost before any work starts. No surprise charges, no rushed decisions, no pressure. If floor leveling uncovers a bigger issue, we talk it through and give you real options. Our team is available around the clock for emergency situations, because flooring problems do not always wait for business hours.
Spring is the right time to handle floor prep in the High Desert, while slabs are stable and humidity stays low. Getting the subfloor level now sets the stage for a smooth flooring install in the months ahead. Ready to get started on new flooring? Click here for our home remodel service and let us handle the full project from subfloor to finish. Crown King Construction is licensed, insured, and ready to help you build a home that lasts.